Which Type Of Materials Can You Use To DIY Your Travel Kettle?
Every travel kettle is a potential canvas waiting to be transformed into a piece that not only brews your favorite drinks but also showcases your
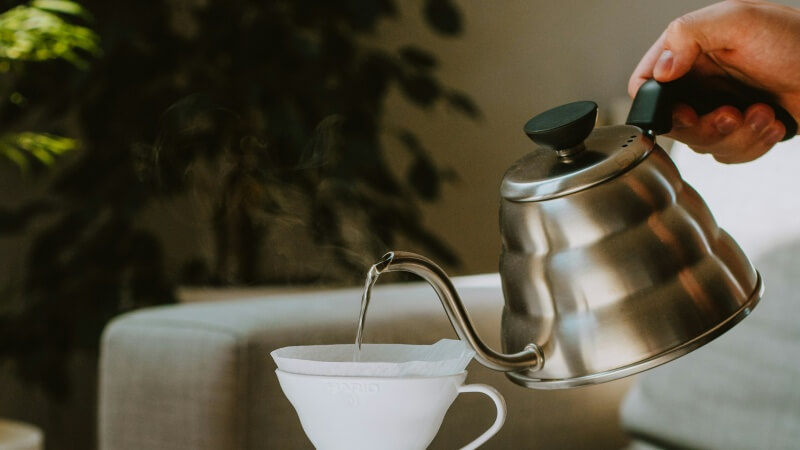
The allure of a steaming cup of coffee or tea during your travels cannot be overstated, and having an electric travel kettle with you can make this a reality anywhere you go.
This blog post will guide you through the process of creating your own electric travel kettle, ensuring you’re never without the comfort of your favorite hot beverage.
Whether you’re an experienced DIYer or new to the craft, this guide has something for everyone. Let’s dive into the world of DIY and transform how you travel with your hot drinks.
Understanding the design principles behind an electric travel kettle is crucial.
It helps you appreciate the functionality and what makes a travel kettle an essential gadget for your journeys.
Let’s break down these principles to ensure your DIY kettle is both effective and efficient.
Electric kettles function by converting electrical energy into heat through a heating element. This heat is directly transferred to the water, quickly bringing it to a boil.
The electric travel kettle relies on this principle but is designed to be portable and efficient, making it perfect for on-the-go use.
Understanding this basic operation is key to selecting the right components and designing a kettle that meets your travel needs.
The choice of heating element, power source, and kettle material will all be influenced by this fundamental understanding.
The heart of any electric travel kettle is its heating element.
You have a variety of options, from traditional coil elements that are economical and widely available, to more efficient but complex flat plate elements that can provide quicker heating times and are more compact.
When selecting a heating element for your DIY kettle, consider factors such as size, power consumption, and how evenly they can heat water.
Your goal should be to choose an element that balances efficiency with portability, ensuring your kettle can be easily taken on your travels without compromising on performance.
When designing your electric travel kettle, the choice of power source is critical. It needs to be portable, efficient, and capable of powering the kettle to boil water quickly.
Batteries offer portability but may require frequent recharging or replacement, whereas a USB power bank can provide a more sustainable and rechargeable option.
However, power banks need to have enough capacity to efficiently heat the water to boiling point. This section will delve into how to choose the best power source for your travel kettle, focusing on factors like capacity, rechargeability, and overall efficiency.
Gathering the right materials and tools is your first step towards creating an electric travel kettle that’s both functional and reliable. Let’s explore what you’ll need to start this exciting project.
For your DIY electric travel kettle, you will need a water container or kettle body, a heating element, a power source (such as rechargeable batteries or a USB power bank), and a switch or controller to regulate the heating.
Each component plays a pivotal role in the functionality and safety of your kettle.
The container must be durable and heat-resistant, capable of withstanding high temperatures without leaking or degrading.
The heating element should be efficient and sized appropriately for the container, while the power source must provide enough energy to bring water to a boil without being too bulky or heavy.
Assembling your electric travel kettle requires a set of basic tools and safety equipment.
You’ll need screwdrivers for assembling parts, a soldering iron for electrical connections, and wire strippers for preparing cables.
It’s also important to have a multimeter handy to check connections and ensure the circuit is working correctly.
Safety gear is non-negotiable; protective eyewear and gloves will protect you from potential harm caused by electrical shocks or burns.
Having the right tools and safety equipment not only makes the assembly process smoother but also ensures that you can work on your project safely and efficiently.
The importance of safety equipment cannot be overstated when working on a DIY electric travel kettle.
Electrical projects, especially those involving water and heating elements, pose significant risks if not handled with care.
Non-conductive tools help prevent accidental electrical shocks, while protective eyewear and gloves guard against burns and injuries.
It’s crucial to work in a well-ventilated area to avoid inhaling any harmful fumes from soldering or other processes.
By prioritizing safety and preparing with the right equipment, you can ensure a safe and enjoyable DIY experience.
Creating an electric travel kettle from scratch is a rewarding project that combines basic engineering with practical craftsmanship. Let’s dive into the detailed steps to bring your custom kettle to life.
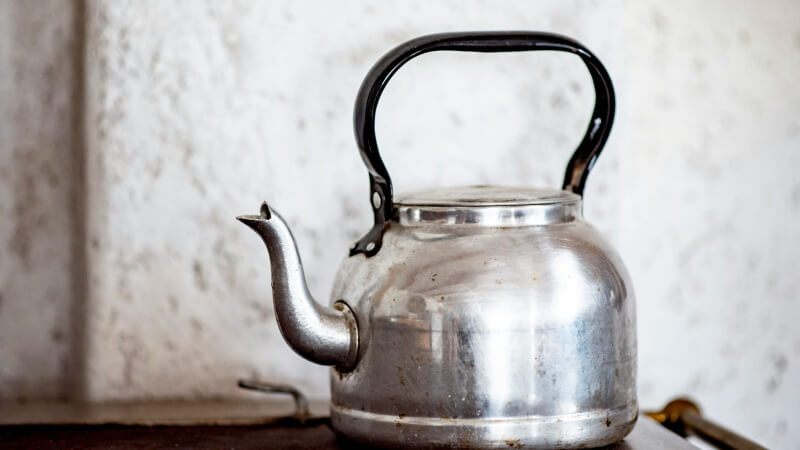
The container you choose for your electric travel kettle not only holds the water but also integrates with the heating element and power source.
Select a material that is durable, heat-resistant, and safe for food contact. Stainless steel or food-grade silicone are excellent choices for their durability and heat resistance.
Once selected, prepare the container by cleaning it thoroughly and making any necessary modifications to accommodate the heating element and other components.
This might involve drilling holes for the element and wiring or attaching mounts for the electronics. The goal is to ensure a snug and secure fit for all parts, minimizing heat loss and maximizing efficiency.
Installing the heating element is a critical step in building your electric travel kettle.
It involves carefully attaching the element to the container’s base, ensuring optimal heat transfer and water heating efficiency. Start by positioning the element where it will evenly distribute heat and marking any points where modifications to the container are needed.
After making the necessary adjustments, secure the element in place using high-temperature resistant adhesives or mechanical fasteners, depending on the design. It’s important to ensure a watertight seal around the element to prevent leaks.
Once installed, connect the element to the power source with careful attention to electrical safety and insulation to prevent shorts and ensure safe operation.
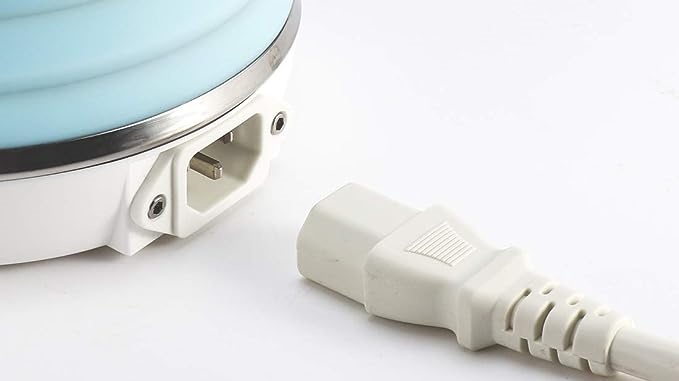
The power source is what brings your electric travel kettle to life, so connecting it properly is essential.
Whether you’re using rechargeable batteries or a USB power bank, the key is to match the voltage and current requirements of the heating element with the capabilities of your power source.
This might involve using a voltage regulator or a power management circuit to ensure stable and safe operation.
When connecting the power source, use insulated wires and secure solder joints to minimize resistance and heat generation in the wiring.
Additionally, incorporating a switch or thermostat allows for better control over the heating process, making your kettle more user-friendly and safer to use.
After assembling your electric travel kettle, testing it to ensure proper function and safety is crucial. Let’s look at how to test your kettle safely and address any issues that might arise.
Safety is paramount when testing your newly assembled electric travel kettle. Begin with a visual inspection to check for any loose connections or potential short circuits.
Then, conduct an initial dry run without water to test the electrical components in a controlled environment.
If everything looks good, proceed with a water test by filling the kettle with a small amount of water and observing the heating process.
Monitor the kettle closely during this test to ensure that the heating element functions correctly and that there are no leaks or electrical issues.
It’s also a good idea to test the kettle’s safety features, such as the switch or thermostat, to ensure they operate as intended.
Encountering issues during the testing phase is not uncommon. Common problems might include the electric travel kettle not heating efficiently, leaks around the heating element, or electrical malfunctions.
If the kettle isn’t heating properly, check the connections between the power source and the heating element for any loose or faulty connections.
For leaks, ensure that all seals around the heating element and any modifications to the container are watertight.
Electrical issues can often be resolved by reviewing the wiring and ensuring that all components are correctly insulated and connected according to the design specifications.
By systematically addressing these common issues, you can ensure your DIY kettle operates safely and effectively.
To get the most out of your electric travel kettle, it’s important to use it correctly and keep it well-maintained. Here are some guidelines to help you enjoy your kettle for many travels to come.
Using your electric travel kettle correctly extends its lifespan and ensures your safety. Always fill the kettle with water before turning it on to prevent damage to the heating element.
Avoid overfilling to prevent water from spilling over when it boils.
Use the kettle on a stable, flat surface to prevent accidents, and never leave it unattended while in use.
If your kettle includes a thermostat or auto-shutoff feature, make sure it’s functioning properly to prevent overheating.
Following these simple guidelines will help you enjoy safe and efficient use of your kettle on all your adventures.
Regular maintenance and cleaning are essential to keep your electric travel kettle in top condition. After each use, empty any remaining water and allow the kettle to cool down before cleaning.
Use a soft, damp cloth to wipe down the exterior and a mild detergent for the interior if needed, avoiding harsh chemicals that could damage the materials. If your kettle has a removable filter, clean it regularly to prevent scale buildup.
Store your kettle in a dry place when not in use to prevent mold and odors.
With proper care, your DIY kettle will be a reliable companion on your travels for years to come.
Adhering to safety precautions is crucial when using any electrical appliance, especially a DIY electric travel kettle. Here are some essential safety tips to keep in mind.
Electrical safety is fundamental when dealing with homemade electrical appliances like your electric travel kettle.
Always ensure that the kettle and its components are dry before connecting it to a power source.
Use insulated tools and wear protective gear when assembling or repairing your kettle to prevent electrical shocks.
Never attempt to use the kettle with exposed wiring or damaged components, and always disconnect it from the power source when not in use or when performing maintenance.
To safely enjoy your electric travel kettle, follow these additional tips: Do not operate the kettle near water sources to avoid electrical hazards.
Be mindful of the kettle’s exterior temperature during use to prevent burns.
Ensure the kettle is used in well-ventilated areas, especially in confined spaces like hotel rooms or campers, to avoid overheating.
By adhering to these safety precautions, you can enjoy your hot beverages without risk, making your DIY kettle a safe and valuable addition to your travel gear.
Building your own electric travel kettle is a rewarding project that combines practicality with the satisfaction of creating something useful with your own hands.
Following the steps outlined in this guide, you can design and assemble a kettle that’s not only functional but also tailored to your travel needs.
Remember, the key to a successful DIY project lies in careful planning, attention to detail, and adherence to safety practices.
Whether you’re an experienced DIY enthusiast or a newcomer to the world of homemade gadgets, this project offers a great way to enhance your travel experience.
Enjoy the process, and soon you’ll be sipping your favorite hot beverages anywhere you go, thanks to your very own electric travel kettle.