Which Type Of Materials Can You Use To DIY Your Travel Kettle?
Every travel kettle is a potential canvas waiting to be transformed into a piece that not only brews your favorite drinks but also showcases your
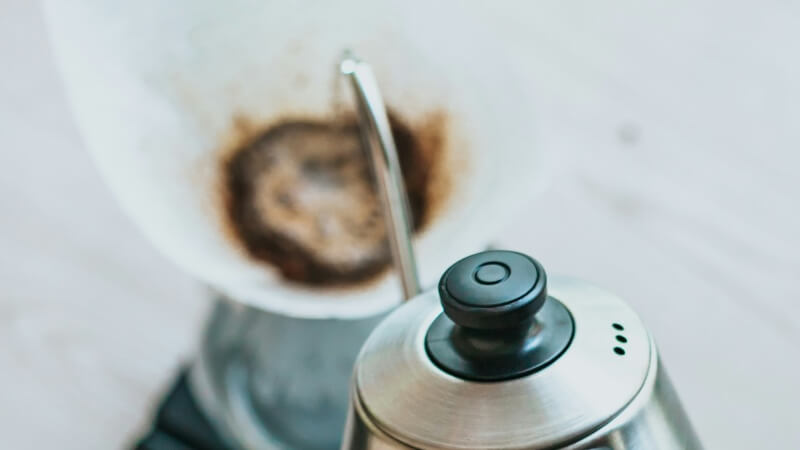
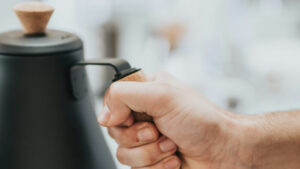
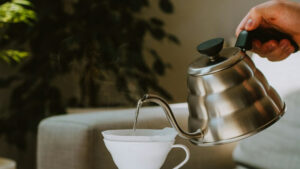
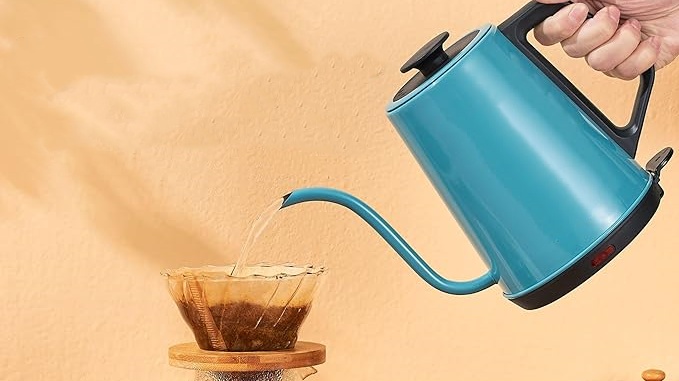
There’s something uniquely comforting about enjoying a hot cup of tea while on the road, but keeping your travel tea kettle warm and protected can be a challenge.
That’s where crafting a custom-insulating cover comes into play. Not only does it keep your tea at the perfect temperature, but it also adds a personal touch to your travel gear.
In this blog, we’ll walk you through the steps of creating a bespoke insulating cover for your travel tea kettle, from gathering materials to the final stitches, ensuring your tea experience is both stylish and satisfying.
Before diving into the crafting process, it’s essential to gather all the necessary materials and tools. This preparation sets the foundation for a smooth and enjoyable crafting experience, ensuring you have everything at hand to bring your vision to life.
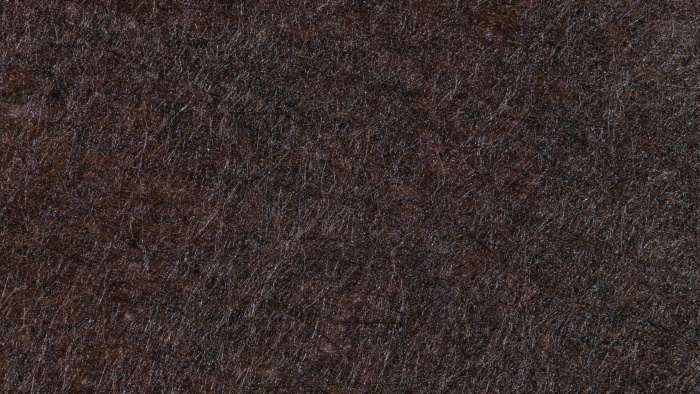
Selecting the proper insulation material is crucial for keeping your travel tea kettle warm. Options like thermal batting, wool felt, or insulated fabric are top choices due to their excellent heat retention properties.
Each material has its own unique benefits, whether it’s the eco-friendly aspect of wool or the lightweight durability of synthetic insulators.
Thermal batting, for instance, offers a balance of insulation and ease of sewing, making it a popular choice for DIY enthusiasts.
Wool felt is not only excellent at retaining heat but also adds a touch of natural texture and warmth to the design.
Insulated fabrics, often used in professional-grade insulating covers, provide a modern look and superior performance, ensuring your tea stays hot for hours.
The inner lining should be soft to prevent scratches on your travel tea kettle, with materials like cotton or silk being ideal choices.
For the outer layer, durability and style are key. Fabrics like canvas, denim, or decorative cotton can add both protection and personality to your cover.
When choosing the inner lining, consider a fabric that’s gentle on your kettle’s surface, like a smooth silk that combines luxury with protection. Cotton is another excellent choice, offering a balance of softness and durability, plus it’s easy to clean.
For the outer layer, think about the aesthetic you want to achieve. A rugged denim might suit a more adventurous spirit, while a vibrant cotton print can express a playful personality.
A sewing machine, scissors, measuring tape, sewing needles, and thread are the basics. Depending on your design, you might also need additional items like zippers, buttons, or cords for closures and embellishments. This step is all about precision and ensuring you have the right tools for the job.
A good-quality sewing machine can make the process smoother, especially for thicker fabrics. Scissors should be sharp for clean cuts, and a variety of needles will allow you to handle different materials with ease.
Don’t forget about the small but mighty tools like seam rippers and pins, which can be lifesavers during the sewing process.
A well-thought-out design ensures that the cover fits perfectly and meets all your needs, from aesthetics to functionality. This stage is where your creativity shines, allowing you to tailor the cover to your personal taste and the specific requirements of your travel tea kettle.
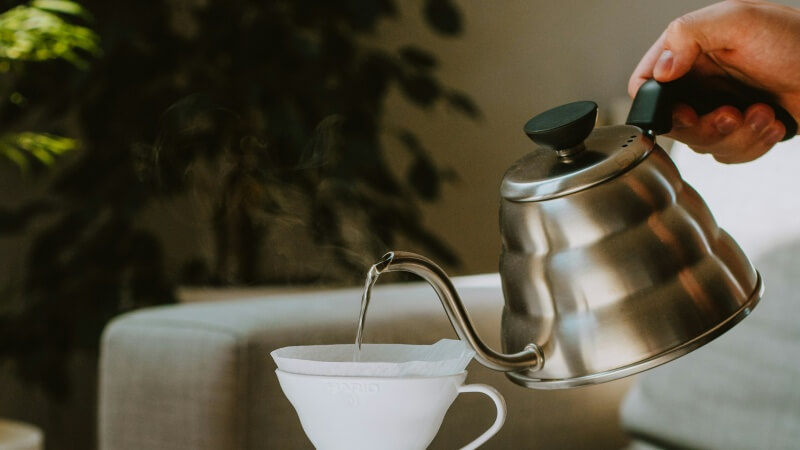
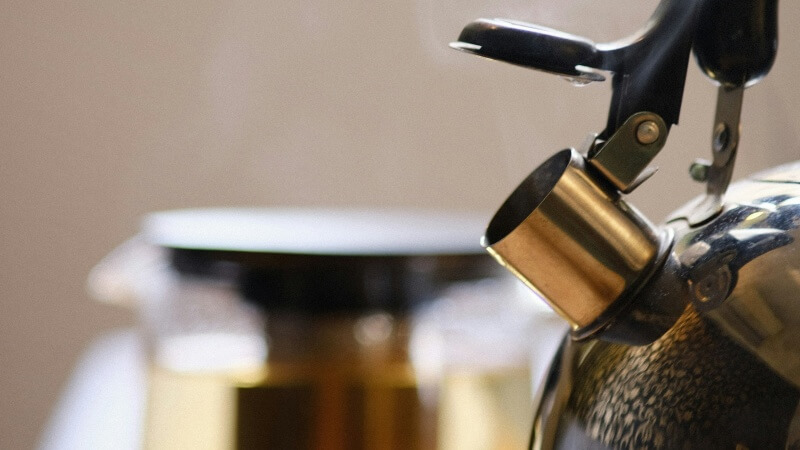
Accurate measurements of your travel tea kettle are the first step in creating a cover that fits like a glove. Record the height, circumference, and placement of any protrusions, like the spout or handle.
It’s essential to measure your kettle at its widest points, including the base, midsection, and, if applicable, the height, with the lid on. These dimensions will guide you in designing a cover that’s not too tight or too loose.
Remember to account for a little extra space for ease of putting on and taking off the cover, as well as any additional padding or insulation layers you plan to include.
With your kettle’s dimensions in hand, sketch a design that reflects your style and the cover’s practical requirements. Consider how the cover will open and close, ensuring easy access while maintaining insulation.
This is your opportunity to get creative with the shape, whether you want a snug fit that mimics the kettle’s silhouette or a more universal design that can accommodate different sizes.
Think about the opening mechanism. “Will it be a simple slip-on cover, or do you prefer the security of a zipper or buttons? Sketching multiple designs can help you visualize the best solution for your needs and preferences.
Decide if you want to incorporate additional features, such as pockets for tea bags or a strap for easy carrying. These small details can significantly enhance the cover’s functionality and convenience.
A pocket for storing tea bags, sweeteners, or a small spoon can be a practical addition for tea lovers on the go.
If you’re always on the move, consider adding a strap or handle to make your travel tea kettle easy to carry. This can be a simple loop that attaches to the cover or a more elaborate, adjustable strap for carrying over the shoulder.
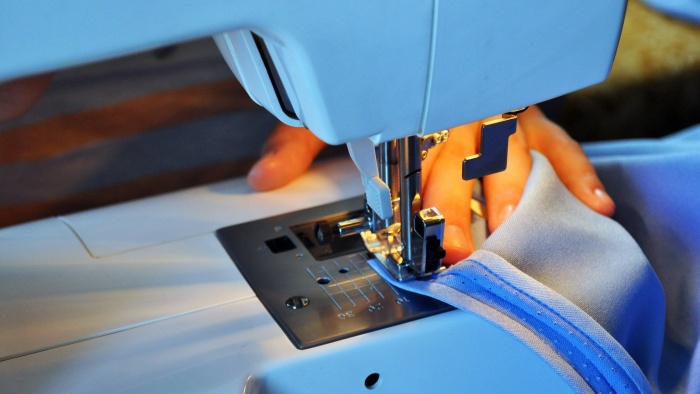
With your materials ready and your design in hand, it’s time to bring your vision to life by carefully crafting each part of the cover. This process involves precision and patience, as you’ll be working with multiple layers and potentially intricate designs to create a cover that’s both functional and aesthetically pleasing.
Cut the insulation, lining, and outer fabric according to your design. Precision here is key to ensuring all pieces align correctly during assembly.
Take your time with this step, as accurate cutting is crucial for the overall fit and finish of your cover. Use sharp scissors or a rotary cutter for clean edges, and don’t forget to include seam allowances in your measurements.
This is also the time to cut out any additional features like pockets or straps, ensuring they’re ready to be incorporated into the cover.
Start by attaching the insulation to the lining, then sew this combined piece to the outer fabric.
This step requires patience and attention to detail, as it lays the groundwork for the cover’s overall look and effectiveness. Begin with the insulation layer, attaching it to the inner lining with a simple stitch that keeps it in place.
Then, carefully align the outer fabric, making sure the right sides are together, and sew around the perimeter. Leave an opening to turn the cover right side out. This process not only secures the layers together but also creates the basic shape of your cover.
This is where your cover truly becomes unique. Sew on any closures, handles, or decorative elements you’ve chosen. Ensure all attachments are secure and that the cover functions as intended.
Whether you’re adding a zipper for a snug fit or buttons for a decorative touch, make sure these elements are both functional and complement the overall design. If you’ve opted for a strap, attach it securely, considering the weight of the filled travel tea kettle.
Decorative elements like embroidery or appliqué can also be added at this stage, giving your cover a personal touch.
Crafting an insulating cover for your travel tea kettle is not just about utility; it’s a creative expression that adds an extra layer of joy to your tea-drinking adventures.
By following these steps, you’ll end up with a functional, stylish accessory that keeps your tea warm and your spirits high, no matter where your travels take you.
Remember, the best part about DIY projects is the opportunity to tailor every detail to your liking, ensuring your travel tea kettle is always ready for your next journey.