Which Type Of Materials Can You Use To DIY Your Travel Kettle?
Every travel kettle is a potential canvas waiting to be transformed into a piece that not only brews your favorite drinks but also showcases your
When you think of customizing your travel tea kettle, the idea of adding LED lights probably isn’t the first thing that comes to mind.
However, this innovative addition not only enhances the visual appeal of your kettle but also incorporates an element of safety for those moments when you’re craving a warm cup of tea in the dark.
This blog will guide you through the process of adorning your travel tea kettle with LED lights, turning it into not just a tool for brewing tea but a statement piece that lights up your surroundings.
To embark on this illuminating journey, the first step is gathering all the necessary components. This preparation is the cornerstone of a successful project, ensuring a smooth transition from a plain travel tea kettle to a masterpiece that shines bright.
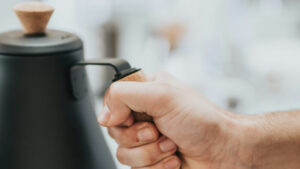
To begin, you will need your trusty travel tea kettle, LED light strips, batteries, a battery holder, and some wiring materials.
It’s crucial to opt for LED strips that are both bright and energy-efficient to maximize the aesthetic appeal while minimizing power consumption.
Additionally, choosing waterproof LED strips can be a wise decision, especially considering that your kettle will be around water. These materials are readily available at most hardware stores or online, making it easy to get started on this project.
Having the correct tools can significantly ease the installation process. A soldering iron may be necessary for securing the LED strips to the wiring firmly, ensuring a stable and long-lasting connection.
Wire cutters will help you customize the length of your LED strips and wiring, while adhesive tape or glue is essential for attaching the strips to the kettle.
For those who prefer a simpler, solder-free method, conductive glue offers an efficient alternative, allowing you to make connections without the need for heating tools.
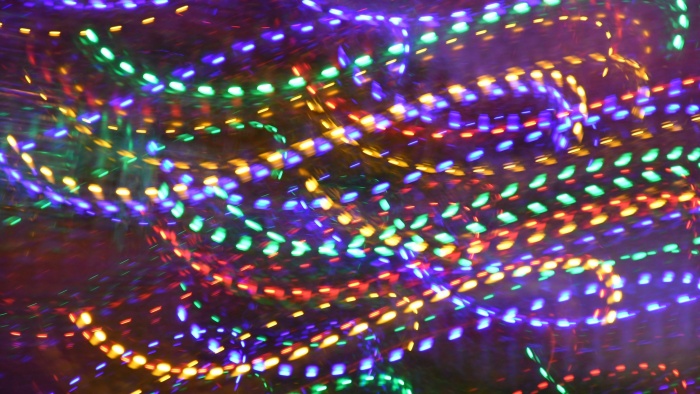
This project isn’t just about functionality; it’s an opportunity to express your creativity. The color, brightness, and pattern of the LED lights can all be tailored to suit your personal style.
Whether you’re aiming for a subtle glow or a vibrant display, the variety of LED options available means you can customize your travel tea kettle to reflect your personality.
Consider experimenting with different colors or programmable LED strips that can change patterns, creating a dynamic and personalized effect.
With all the necessary materials and tools in hand, you’re now ready to transform your travel tea kettle into a beacon of warmth and style. This stage is where your vision starts to come to life, turning the concept into a tangible reality.
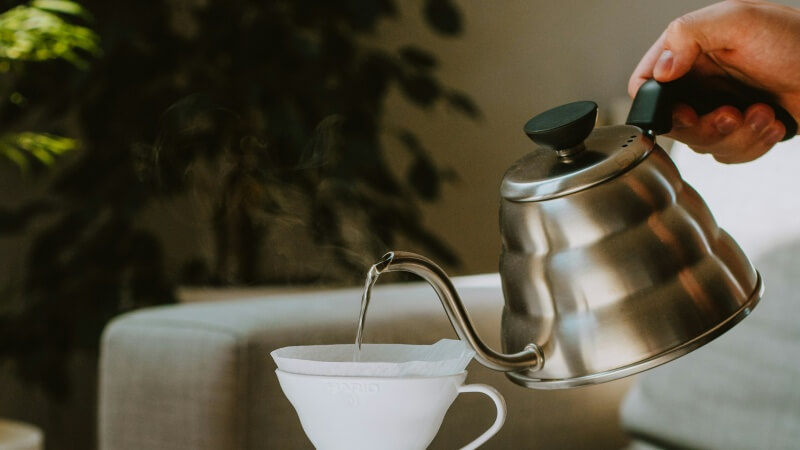
The first step in the installation process is to prepare your travel tea kettle. Ensuring that the surface is clean and free of any debris is crucial for the adhesive to stick properly.

A quick wipe with alcohol or a mild cleaning solution can remove any grease or dust, creating a pristine surface for the LED lights to adhere to.
This preparation helps prevent the lights from peeling off over time, ensuring a durable and aesthetically pleasing result.
Before attaching anything, it’s important to plan out where the LED strips will go.
This planning phase involves measuring the circumference and height of your travel tea kettle and deciding how you want to arrange the lights for the best visual impact.
Do you want the lights to wrap around the base, highlight the handle, or create patterns across the surface? Sketching your ideas can help visualize the final outcome, ensuring that the LED strips complement the kettle’s design and enhance its functionality without overwhelming it.
Attaching the LED strips to your travel tea kettle is a delicate but straightforward process. Using the adhesive backing on the LED strips, carefully place them according to your design plan.
If your strips don’t come with an adhesive backing or you’re seeking extra durability, a high-quality glue or double-sided tape can secure them in place.
Next, connect the LED strips to the battery holder, ensuring that the wiring is neat and does not interfere with the kettle’s function. If you’ve chosen to include a switch, mount it in a convenient location for easy access.
This step transforms your kettle from a simple brewing tool into a luminous gadget that lights up at the flick of a switch.
The final stage of this project ensures that your travel tea kettle is not only visually appealing but also safe and practical for everyday use. These finishing touches are what separate a good DIY project from a great one.
Given that your travel tea kettle will inevitably come into contact with water, it’s essential to waterproof your LED setup.
Applying a clear silicone sealant around the edges of the LED strips and where any wiring enters the battery holder can prevent moisture from causing any damage.
This step is crucial for maintaining the longevity of your LED lights and ensuring that your kettle remains safe to use, even around water.
Safety should always be a top priority, especially when combining electronics with water. After installing the LED lights, take the time to thoroughly check all electrical connections.
Make sure that all wires are securely soldered or glued and covered with electrical tape or heat-shrink tubing to prevent any short circuits.
This precaution not only ensures your travel tea kettle is safe to use but also extends the life of your LED lights by preventing electrical failures.
The moment of truth has arrived. It’s time to test your illuminated travel tea kettle. Insert the batteries into the holder, turn on the switch, and watch as your kettle lights up.
This test run is an excellent opportunity to make any final adjustments, whether it’s repositioning the LED strips for better light distribution or tweaking the brightness settings.
Seeing your kettle aglow not only marks the completion of your project but also signifies the beginning of many illuminated tea sessions to come.
Adding LED lights to your travel tea kettle is a creative and functional project that blends the art of tea making with the beauty of light.
This DIY enhancement not only personalizes your kettle but also adds a layer of safety and convenience to your tea brewing routine.
Whether you’re setting a mood for a relaxing tea session or lighting up a dark kitchen, your illuminated kettle serves as a testament to your creativity and love for tea.
As you enjoy your next cup, remember that the glow from your travel tea kettle is a reflection of your ingenuity and passion for DIY projects. Light up your tea time with this unique addition, and let your kettle shine as brightly as your love for tea.