Which Type Of Materials Can You Use To DIY Your Travel Kettle?
Every travel kettle is a potential canvas waiting to be transformed into a piece that not only brews your favorite drinks but also showcases your
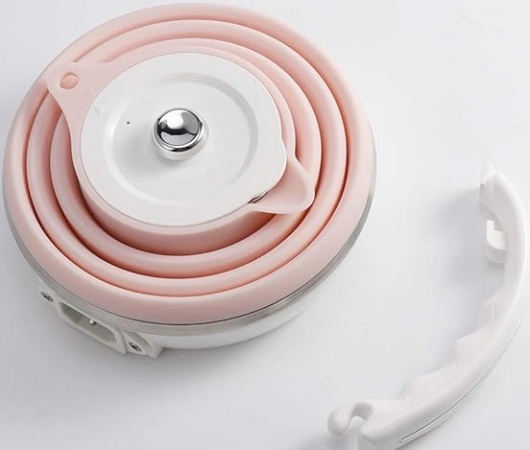
Every bouilloire de voyage carries tales of adventure, enduring long journeys and witnessing the beauty of dawn in new places.
But, akin to any reliable companion, it demands a bit of care to stay in prime condition, especially the lid, which often becomes a haven for bacteria and unwanted buildup.
This comprehensive guide is crafted to walk you through a foolproof method to clean your travel kettle lid, ensuring it remains a hygienic companion ready for whatever journey lies ahead.
Before embarking on the cleaning quest, it’s vital to amass the necessary tools and materials. Like preparing for an adventure, this step is about ensuring you have everything you need for success.
Gathering the right supplies is akin to packing for a trip; you need to ensure you have everything to address any situation.
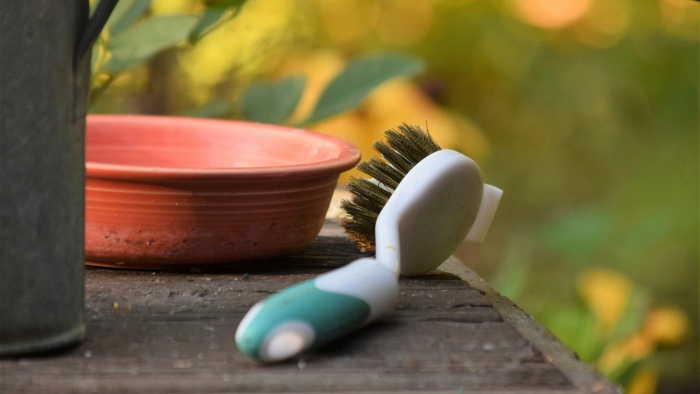
For cleaning your travel kettle lid, warm water, mild detergent, a small brush or an old toothbrush, a soaking container, clean cloths or paper towels, and, optionally, disinfectants such as 75% alcohol or a food-grade cleaner are essential.
Each of these items plays a specific role in the battle against dirt and grime, from loosening particles to wiping away the final traces of bacteria, ensuring that your travel kettle is not just clean, but also hygienic.
Each item in your cleaning arsenal has a unique role.
Warm water softens dirt; mild detergent cuts through grease; the small brush reaches into crevices; the soaking container allows for deep cleaning; cloths or paper towels dry surfaces without leaving residues; and the disinfectant kills bacteria, ensuring that every sip from your travel kettle is not only refreshing but also safe.
This meticulous selection of cleaning tools ensures that every part of the kettle lid, no matter how small or hidden, receives the attention it deserves.
Organizing your cleaning station efficiently can significantly enhance the cleaning process.
A well-arranged space, with all supplies readily accessible, not only streamlines the task but also makes it more enjoyable.
Imagine it as setting up camp before a night under the stars; the better your setup, the smoother your experience.
This prepared environment ensures that once you start cleaning your travel kettle lid, everything flows seamlessly, making the task less of a chore and more of a satisfying activity.
With your arsenal ready and your station set, the journey to a pristine travel kettle lid begins. This phase is where diligence and attention to detail pay off, ensuring that your kettle remains a reliable companion on all your adventures.
The initial rinse is the first step in the battle against grime. Running your travel kettle lid under warm water helps loosen any surface dirt or residue, making the subsequent cleaning steps more effective.
Think of it as scouting the terrain before setting up camp; you’re getting a lay of the land, or in this case, the state of the dirt, preparing for a thorough cleaning.
This rinse is crucial for softening up the enemy, making it easier to remove once you bring in the heavy artillery: soap and scrubbing.
Soaking the lid and any detachable parts in warm, soapy water is like letting them bathe in a rejuvenating hot spring, loosening the grip of any stubborn grime and making it easier to scrub away.
After soaking, armed with your brush, you embark on a detailed scrubbing mission, paying special attention to threads, seals, and other hidden bastions of bacteria.
This meticulous scrubbing is akin to exploring every nook and cranny of a new city, ensuring that no corner, no matter how hidden, is left unclean.
It’s a thorough cleanse that guarantees every part of your travel kettle lid is touched by the purifying action of soap and effort.
After the scrubbing expedition, rinsing off the soap and dislodged grime under clean running water is like the final sweep of a campsite before you leave, ensuring that no trace of your stay (or in this case, no trace of detergent) is left behind.
This step is crucial to ensure that your travel kettle is not just visually clean but also free from any soap residue that could affect the taste of your water or, worse, your health.
The clear, clean water running over the lid and parts is the sign of a successful cleaning mission, leaving behind nothing but cleanliness.
The journey of cleaning your travel kettle lid culminates in the drying and reassembling phase. It’s the moment to bring everything back together, ready for the next adventure.
Drying each component thoroughly is as crucial as ensuring your tent is dry before packing it up. Any remaining moisture can be a breeding ground for bacteria, undoing all your hard work.
Laying out the parts on a clean cloth or paper towel in a well-ventilated area ensures they air dry completely.
If you’re pressed for time, gently patting them dry accelerates the process without compromising the results.
This step is about ensuring your travel kettle lid is not just clean but also completely dry, ready for safe storage or immediate use.
Reassembling the dry parts of your travel kettle lid is like packing up after a successful camping trip, where everything has its place, and every item is accounted for.
This step is about precision and care, ensuring that every seal is tight and every component fits perfectly, restoring your travel kettle to its full functionality.
It’s a satisfying conclusion to the cleaning process, symbolizing readiness for whatever lies ahead, be it a quiet morning at home or a thrilling adventure in the wild.
Proper storage is the final step in taking care of your bouilloire de voyage.
Just as you would store your gear in a dry, clean place to ensure its longevity and readiness for your next trip, the same goes for your travel kettle lid.
Ensuring it’s stored in an environment that won’t encourage the growth of mold or the accumulation of dust keeps it ready and safe for your next journey.
This care in storage is a testament to the value you place on cleanliness, health, and readiness for adventure.
In the realm of travel essentials, a clean bouilloire de voyage is non-negotiable. It’s not just about aesthetics; it’s about health, safety, and the joy of enjoying a hot beverage in pristine conditions, wherever you may be.
By following these detailed steps, you ensure that your travel kettle lid is not just clean but also maintained in a condition that’s conducive to good health and great adventures.
Remember, the cleanliness of your travel kettle is a reflection of your readiness for adventure, making every sip from it a toast to your next journey.
Can I use vinegar as a natural cleaning agent for my travel kettle lid?
Yes, vinegar is an excellent natural cleaning agent that can help remove mineral deposits and sanitize your travel kettle lid. Mix equal parts of water and white vinegar, soak the lid for about 30 minutes, then rinse thoroughly with water. This method is particularly useful if you’re avoiding harsh chemicals.
How often should I clean my travel kettle lid to keep it in optimal condition?
The frequency of cleaning depends on how often you use your travel kettle. For regular users, a thorough cleaning once a week is recommended. However, if you use it less frequently, cleaning it every few uses should suffice to keep it in top condition.
Is it safe to clean my travel kettle lid in the dishwasher?
This depends on the manufacturer’s recommendations. Some travel kettle lids are dishwasher safe, while others may get damaged. Always check the care instructions provided with your kettle. If unsure, hand washing is the safest option to prevent any damage.
What should I do if I notice mold growth on my travel kettle lid?
If mold is present, a deep clean is necessary. Soak the lid in a solution of 1 part bleach to 4 parts water for at least 1 hour, then proceed with the usual cleaning steps. Ensure the lid is completely dry before reassembling. Regular cleaning can prevent mold from returning.
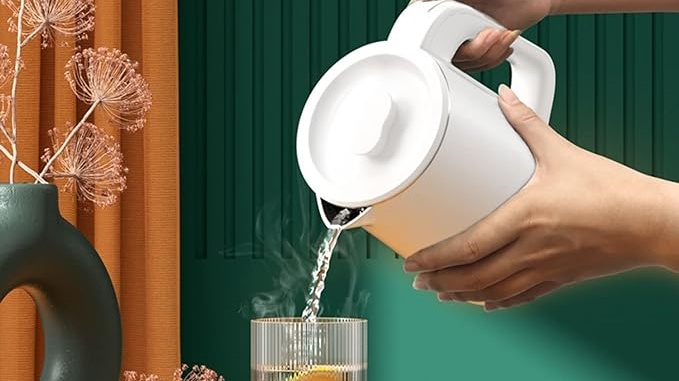
Can I use the same cleaning process for the body of the travel kettle?
Yes, the cleaning principles outlined for the lid can also be applied to the body of the kettle. However, pay extra attention to the manufacturer’s instructions regarding the kettle’s electrical components and avoid submerging them in water. Always prioritize safety and the integrity of the kettle’s design when cleaning.